
Wood Floor Specialists
Up to 55% off on a wide range of flooring
Carefully Packed & Posted
On all Samples
Try Before You Buy
Laminate flooring is one of the most popular choices for modern homes, thanks to its affordability, durability, and stylish finish. Whether you’re upgrading your living space or replacing worn-out flooring, laminate is an excellent DIY-friendly option that can completely transform a room.
At Deluxe Floors, we supply high-quality laminate flooring with an easy click installation system, making it simple for homeowners to fit their new floors without professional help. In this guide, we’ll walk you through how to install laminate flooring step by step—even if you’ve never done it before!
Before getting started, make sure you have the right tools and materials for the job:
✔ Tape measure
✔ Pencil & ruler
✔ Spacers
✔ Utility knife
✔ Handsaw or jigsaw
✔ Pull bar & tapping block
✔ Rubber mallet
✔ Laminate flooring
✔ Underlay (if required)
✔ Scotia/beading or skirting boards
✔ Flooring adhesive (for expansion gaps, if needed)
Before laying your laminate flooring, you need to ensure the subfloor is:
✔ Clean – Sweep away any dust and debris.
✔ Dry – Moisture can damage laminate over time.
✔ Level – Check for uneven areas using a spirit level. Any dips or bumps greater than 3mm over 1 metre should be corrected.
💡 Pro Tip: If installing over concrete, use an underlay with a built-in damp-proof membrane (DPM) for protection.
Laminate flooring needs time to adjust to room temperature before installation. Leave the packs of laminate in the room for at least 48 hours, allowing the planks to expand or contract naturally.
🚀 Why? This prevents buckling or gaps forming after installation due to temperature changes.
An underlay improves comfort, noise reduction, and insulation while protecting your laminate flooring.
Simply roll out the underlay and trim it to fit, making sure pieces don’t overlap to avoid unevenness.
Before installing the planks, plan your layout to ensure a professional finish:
✔ Start along the longest wall or the most visible area.
✔ Avoid starting with a thin strip—cut the first plank if needed so the last row won’t be too narrow.
✔ Stagger plank joints by at least 30cm to create a natural, flowing pattern.
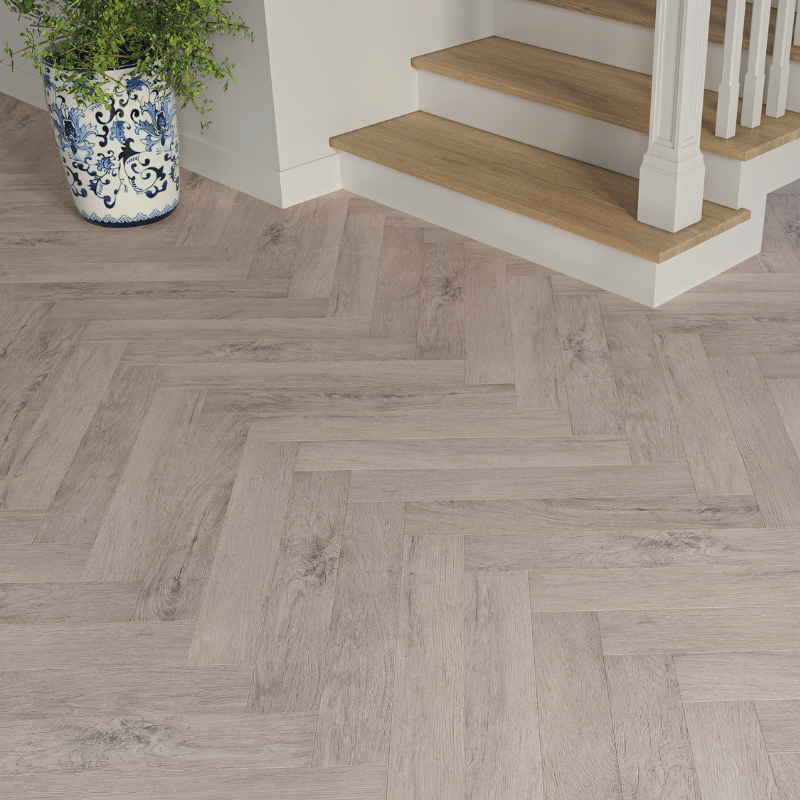
💡 Pro Tip: If you’re fitting herringbone laminate, carefully follow the manufacturer’s pattern guide to avoid mistakes!
1️⃣ Place spacers along the wall to allow for a 10-12mm expansion gap (this prevents flooring from warping due to seasonal movement).
2️⃣ Start with the tongue side facing the wall and click the first row of planks together lengthwise.
3️⃣ Cut the final plank in the row to size using a handsaw or jigsaw.
💡 Pro Tip: If cutting laminate, mark the cut line on the back and cut from the underside to reduce chipping.
✔ Start the second row with the offcut from the first row to create a staggered effect.
✔ Angle and click the planks into place—use a pull bar and tapping block to ensure a snug fit.
✔ Repeat the process, working across the room row by row.
Common Issues & Fixes:
❌ Planks won’t click together? Ensure the angle is correct and no debris is in the joints.
❌ Gaps appearing? Tap the planks gently into place using a rubber mallet.
The last row may need to be trimmed to fit. Measure and cut the planks lengthways, leaving the same 10-12mm expansion gap along the final wall.
✔ Remove spacers and cover the expansion gap with scotia beading or skirting boards.
✔ Check for gaps and use flooring adhesive if needed to secure loose areas.
✔ Clean the floor with a soft brush or vacuum to remove dust.
🚀 You’re done! Enjoy your brand-new laminate flooring!
💬 Can I install laminate flooring over carpet?
No, carpets should be removed as they don’t provide a stable base for laminate.
💬 Does laminate flooring need to be glued down?
No, laminate flooring is designed to be floating, meaning no glue or nails are needed.
💬 Can I install laminate in a kitchen or bathroom?
Yes, but make sure to choose a water-resistant laminate and seal the expansion gaps to prevent moisture damage.
Installing laminate flooring is easier than you might think, especially with click installation technology. With the right preparation and tools, you can achieve a professional-looking finish and transform your space in just a few hours.
At Deluxe Floors, we offer a wide selection of high-quality laminate flooring, including herringbone, tile-effect, and classic plank styles. Browse our collection today and give your home the upgrade it deserves!